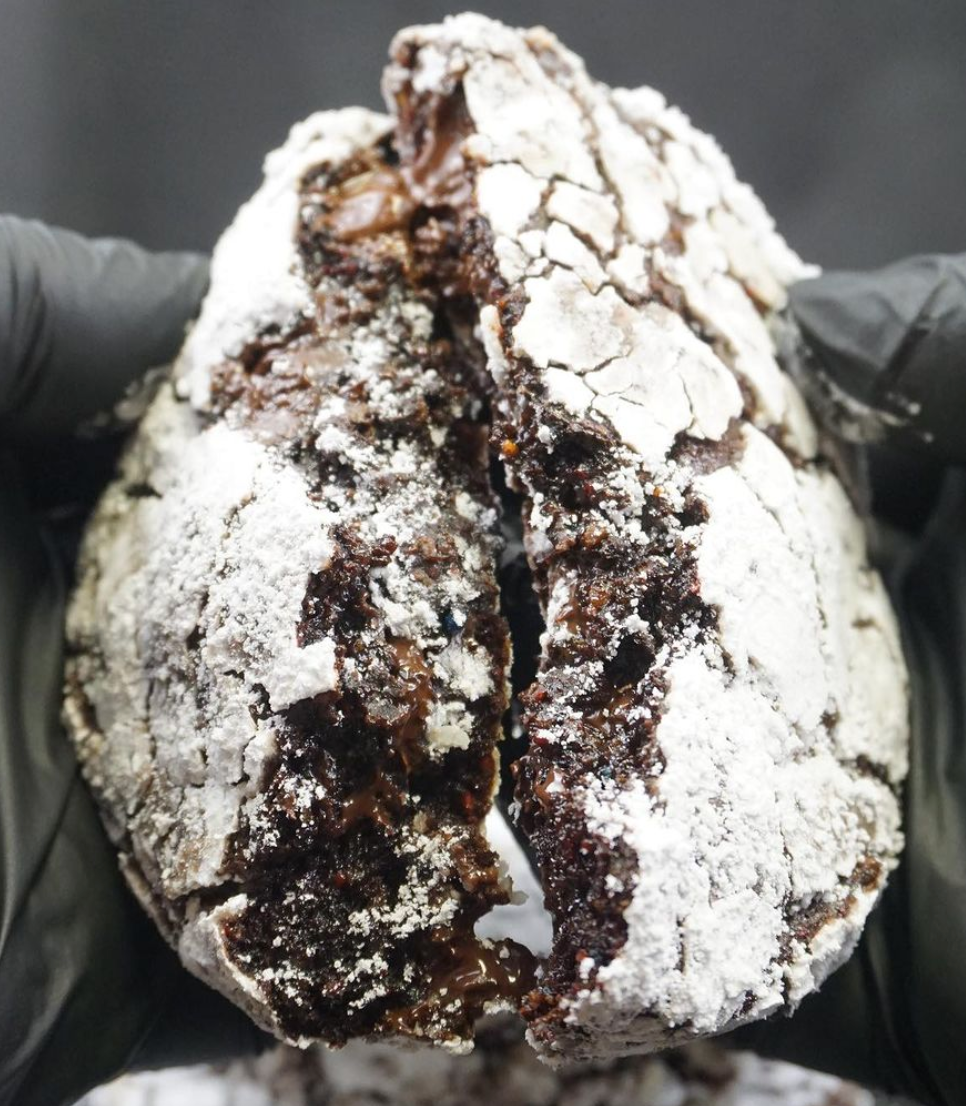
Crafting Homemade Truffles: A Step-by-Step Guide to Making Chocolate Truffles at Home with Various Recipes and Flavor Variations
- Jose Rivas

- Apr 5, 2024
- 2 min read

Indulging in the rich, velvety goodness of homemade chocolate truffles is a delight like no other. Today, we invite you to embark on a culinary journey as we unveil the secrets to creating these decadent treats right in the comfort of your own kitchen. Follow along our step-by-step guide and explore a variety of recipes and flavor variations that will elevate your truffle-making game to new heights.
Step 1: Gather Your Ingredients
Before diving into the truffle-making process, ensure you have all the necessary ingredients on hand. You'll need:
High-quality dark chocolate (70% cocoa or higher)
Heavy cream
Unsalted butter
Flavorings (such as vanilla extract, espresso, liqueurs, etc.)
Coating options (cocoa powder, powdered sugar, chopped nuts, melted chocolate, etc.)
Step 2: Prepare the Ganache
Start by finely chopping the dark chocolate and placing it in a heatproof bowl. In a small saucepan, heat the heavy cream over medium heat until it just begins to simmer. Pour the hot cream over the chopped chocolate and let it sit for a minute to soften the chocolate. Then, gently stir the mixture until the chocolate is completely melted and the ganache is smooth and glossy.
Step 3: Add Flavorings (Optional)
This is where you can get creative with your truffle flavors. Stir in your desired flavorings, such as vanilla extract for a classic touch, espresso for a rich coffee flavor, or your favorite liqueur for an extra kick. Be sure to taste the ganache and adjust the flavorings according to your preference.
Step 4: Chill the Ganache
Once the ganache is flavored to perfection, cover the bowl with plastic wrap and refrigerate it until it firms up, usually for about 2-3 hours or until it's scoopable.
Step 5: Shape the Truffles
Once the ganache has chilled, use a small spoon or a melon baller to scoop out portions of the ganache. Roll each portion between your palms to form smooth, round balls. Place the shaped truffles on a parchment-lined baking sheet and return them to the refrigerator to chill for another 15-30 minutes.
Step 6: Coat the Truffles
Now comes the fun part – coating the truffles! Roll each chilled truffle in your desired coating option, such as cocoa powder for a classic finish, powdered sugar for a snowy effect, chopped nuts for added crunch, or dip them in melted chocolate for a glossy shell.
Step 7: Enjoy and Share
Once the truffles are coated, transfer them to an airtight container and store them in the refrigerator until ready to enjoy. These homemade truffles make for a delightful treat to savor on your own or share with loved ones as a thoughtful gift.
Variations and Flavor Ideas:
Classic Dark Chocolate Truffles
Espresso Infused Truffles
Orange Zest and Grand Marnier Truffles
Mint Chocolate Truffles
Coconut and Rum Truffles
Hazelnut Praline Truffles
The possibilities are endless, so don't be afraid to experiment with different flavor combinations to create truffles that suit your taste preferences.
Now that you have the insider's guide to crafting homemade truffles, it's time to roll up your sleeves and let your creativity shine. With each decadent bite, you'll savor the satisfaction of knowing that you've mastered the art of truffle-making right in your own kitchen.
Happy truffle-making!
Dr Chocolates


Comments